Automated Versioning of React Native Apps for Play Store
AUTOMATE MY FRIDAYS!
This post was originally published on Medium by me on Oct 15, 2021
It started with me forgetting to edit android/app/build.gradle file to increment the version number before uploading to Google Play Store on a Friday evening when I had popcorn getting ready in the oven and friends already started streaming Squid Game in the hall. Play Store console didn’t let me publish the app with the old conflicting version (of course!), and I had to redo the slow build. I needed a way to automate this!
A couple of PSAs first:
- This article is only about Android releases. It does not go into iOS or React Native Web/Desktop releases.
- If you have FastLane automation, you may want to use their versioning plugin
- If you are using Expo, look into their Release Channels
- If you are using Microsoft AppCenter Codepush, look into versioning mechanism in CodePush
With that out of the way, let’s get going.
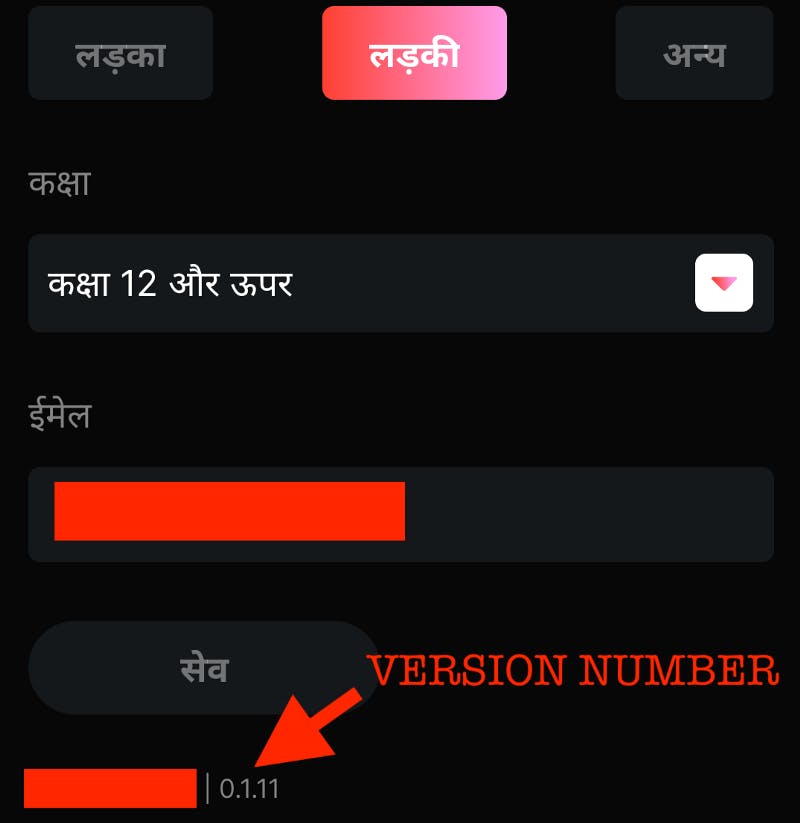
The demand started when the client wanted to see the version of the binary on the React Native screen. It looks something like this (it used to be a manual update to package.json).

☝️ The binary version number should be shown on the React Native screen
In React Native, I found no easy way to fetch the version number of the binary without having to install a massive library like react-native-device-info, which sounded like an overkill to me. We know that we can fetch the version from package.json, what if there was a way to keep version numbers in package.json and build.gradle in sync? Auto-may-shun!!!

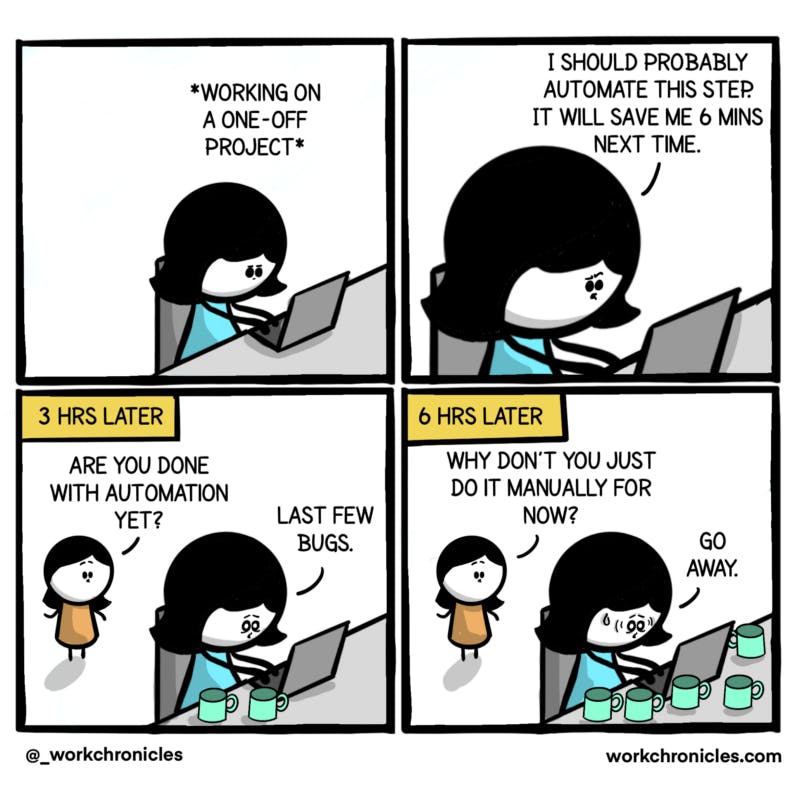
☝️ Automation!!! Courtesy https://workchronicles.com/automation/
STEP 1: Add these two utility functions to android/app/build.gradle
☝️ The Utility Functions That Fetch The Version Name and Code From package.json during the build
The idea is stolen from this StackOverflow post
STEP 2: Edit the lines in the block below to utilize our newly minted utility functions at the top of the file.
defaultConfig {
  applicationId YOUR_APPLICATION_ID
  minSdkVersion rootProject.ext.minSdkVersion
  targetSdkVersion rootProject.ext.targetSdkVersion

  // Edit these two lines
  versionCode 110
  versionName 0.1.10
}
And the block above should look like this:
☝️ Changes in android/app/build.gradle to use the utility methods
At this step, if you go ahead, and run ./gradlew bundleRelease, you will see it picks up version value from package.json. If you are OK with manually updating version in package.json and running gradle build, you are done here. But, AUTOMATION?!!
STEP 3: yarn and npm both provide a mechanism to update the version of the project (and also automatically tag it for you). See more details here: https://classic.yarnpkg.com/en/docs/cli/version
Along with updating the version, it also calls a version lifecycle method postversion (also a preversion before the versioning starts). So, if we call our Gradle build as part of the post version step, the following things will happen:
- Yarn will set the new release version (this process is interactive!) in
package.json, and create a tag. - Yarn will kickoff gradle build which will use the new version in
package.json
A win-win!
Let’s add a postversion script that performs the Gradle build in package.json
☝️ Add a new npm script
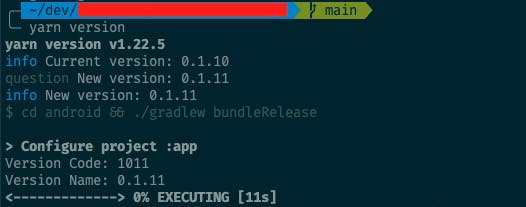
And, we are done! Open up your cli and fire the command yarn version and observe the smoothness. Ah-tow-mation, finally!
 ☝️ Watch the version code and version name derived from version in package.json
By the way, this is how you fetch the version from package.json on the React Native side:
☝️ Fetching version from package.json in a React Native Component
That’s all, folks!
